Transform your home’s appearance, making it sparkle like new. Whether you’re preparing for a big event, tackling seasonal maintenance, or just freshening things up, these tips and tricks will help you achieve professional-level results with less effort.
Power washing is a highly effective way to remove dirt, grime, and mildew from surfaces like driveways, patios, siding, and decks. Follow these tips for safe and efficient power washing:
Choose the Right Equipment
Selecting the appropriate power washer is crucial for effective cleaning. A model with a pressure range of 1,300 to 2,800 PSI is versatile enough to handle most household surfaces.
Additionally, the right nozzle ensures you’re applying just the right amount of pressure—a wider spray (25-40 degrees) for delicate surfaces prevents damage, while a narrower spray (0-15 degrees) delivers the power needed for tougher stains.
Using the correct equipment saves time and ensures your surfaces are cleaned without unnecessary wear and tear.

Pre-Treat Stubborn Stains
Areas with grease, mildew, or ingrained dirt, pre-treating surfaces is a game-changer. Start by applying the solution and letting it sit for 5-10min will begin to break down stubborn stains before you even start power washing. This step reduces the amount of scrubbing or multiple passes needed, which not only saves effort but also minimizes water usage.
Testing a small, inconspicuous area is essential to avoid accidental damage. Different surfaces react differently to pressure, and testing lets you determine the optimal distance and nozzle type without risking harm to your property. This precaution ensures you can proceed with confidence, knowing your chosen settings are safe and effective for the material you’re cleaning.
Mind Your Safety
Safety should always be a priority when power washing. Here are four tips to help you stay safe while pressure washing:
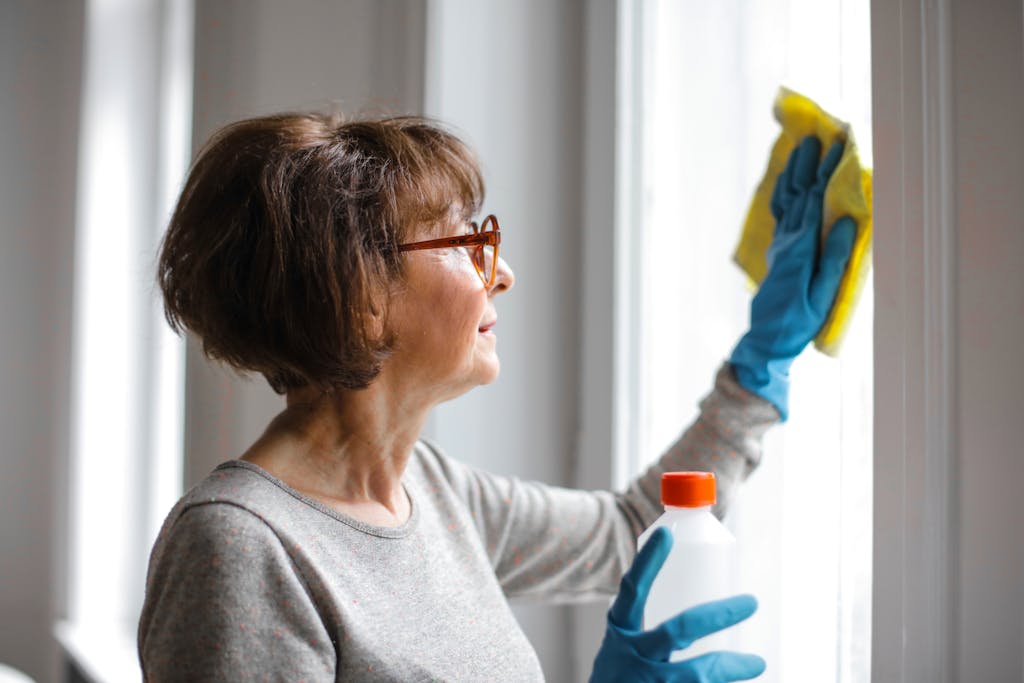
1. Wear protective gear like goggles and gloves shield you from flying debris and cleaning agents, while a stable footing prevents accidents.
2. Avoid using power washers on ladders or unstable surfaces, as the high pressure can easily throw you off balance.
3. Maintaining a safe distance between the nozzle and the surface (typically 6-12 inches) is key to achieving the perfect balance of cleaning power and surface protection.
4. Use smooth, overlapping strokes, to make the process more efficient and ensure your surfaces look uniform and professional.
Ensuring safety not only protects you but also makes the task more manageable and stress-free.
Clean, streak-free windows make your home feel brighter and more inviting.
Here’s how to brighten up your natural light:
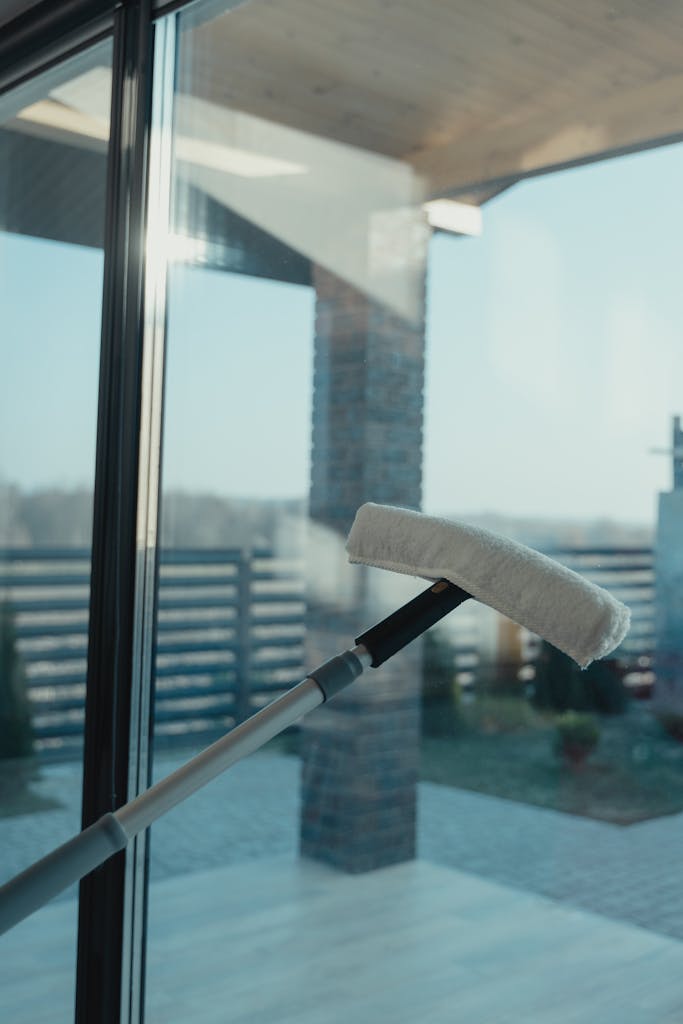
First, having the right tools on hand makes all the difference. A high-quality squeegee ensures a smooth, streak-free finish, while a microfiber cloth is perfect for wiping down edges and catching drips. Pair these with a gentle cleaning solution, like a mix of dish soap and water or a trusted glass cleaner, and you’re set up for success. Using effective tools not only simplifies the task but also ensures your windows look professionally cleaned.

PRO TIP:
Wash your windows on a cloudy day!
Timing your window cleaning can greatly impact the results. Cleaning on a cloudy day prevents the cleaning solution from drying too quickly, which can leave behind streaks. This small adjustment in scheduling allows you to take your time and achieve a flawless shine without the pressure of racing against the sun.
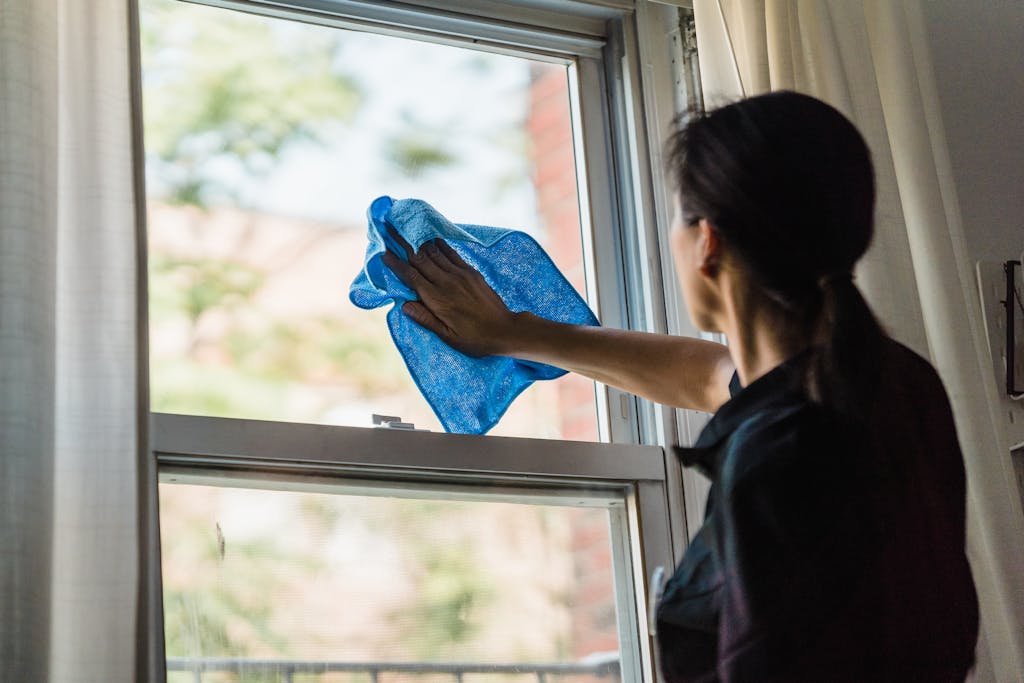
Remember, before you start, brush away any loose dirt, dust, or cobwebs from the window frame and glass.
Use a micro-fiber towel or dry sponge to ensure your windows are ready for the spray. This prevents debris from turning into a muddy mess when mixed with the cleaning solution. Pre-cleaning not only saves time but also ensures a smoother, streak-free finish once you begin washing.
Master the Squeegee & Finishing Touches
Mastering the squeegee technique is key to achieving crystal-clear windows. Start at the top of the window and pull the squeegee down in a single, straight stroke. After each pass, wipe the blade clean with a cloth to avoid transferring dirt. For smaller windows, horizontal strokes might be more manageable. Using the proper technique ensures a polished look and saves time by reducing the need for touch-ups.
Once the main cleaning is done, don’t forget the finishing touches. Use a microfiber cloth to carefully dry the edges and corners of the window. This step catches any lingering drips and leaves your windows looking impeccably clean. Drying the edges also prevents water spots from forming, which can detract from the overall shine.
Don’t Forget the Screens Window screens can accumulate a surprising amount of dirt and debris. Remove them gently and give them a rinse with a hose. For stubborn grime, a soft brush and mild detergent work wonders. Let the screens air dry completely before reinstalling them to avoid trapping moisture. Cleaning the screens not only improves their appearance but also ensures they don’t transfer dirt back onto your freshly cleaned windows.

Know when to call in the professionals…
While power washing and window cleaning can be satisfying DIY projects, sometimes it’s best to leave it to the professionals. Hard-to-reach windows, large surfaces, or stubborn stains can require specialized equipment and expertise. Cleanistry’s team can handle these tasks with ease, saving you time and ensuring flawless results.
With these tips in hand, you’re ready to tackle your next power washing or window cleaning project. Whether you’re sprucing up for spring or giving your home a year-round glow, a little effort goes a long way in making your property shine!

61 Comments